How to Reseason a Rusty Cast Iron Potjie (And Make It Last a Lifetime)
Got a rusty potjie? Don’t panic—here’s exactly how to clean and reseason your cast iron potjie step by step. Restore its nonstick magic and protect it for years to come!
KITCHENGARDEN
There’s Still Hope for That Rusty Potjie
If your beloved cast iron potjie has gone a bit orange and flaky, don’t worry—you’re not alone. Rust happens, even to the best of us. Whether it was left outside after a braai or forgotten in a damp cupboard, cast iron can always bounce back. With a little elbow grease (and oil), you can bring your potjie back to life.
This guide will walk you through how to clean, restore, and reseason a rusty cast iron potjie so it’s ready to cook up your next stew, potbread, or Sunday roast.
Why Reseasoning Matters
Cast iron needs a protective layer of seasoning to stay nonstick and rust-free. Seasoning is just oil that’s been baked onto the surface. Without it, your potjie is vulnerable to moisture, acidic ingredients, and rust.
So if your potjie is looking a bit worse for wear, don’t toss it—just reseason it.
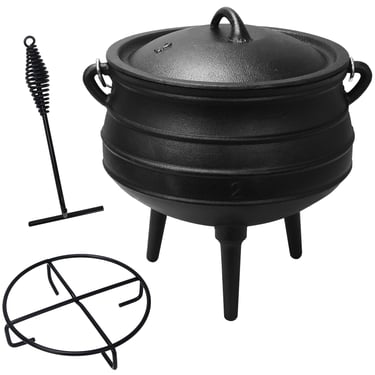
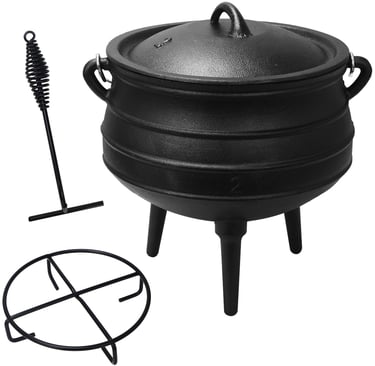
What You’ll Need
Before we begin, grab these supplies:
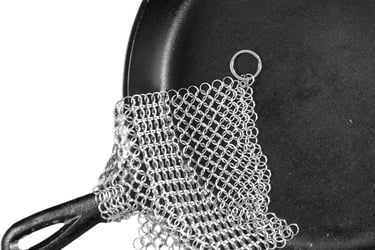
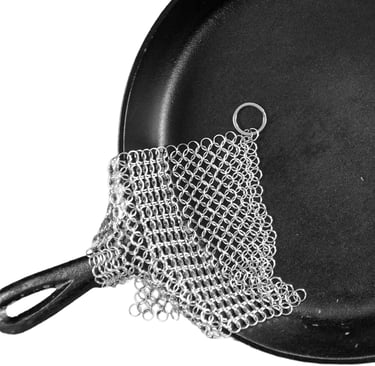
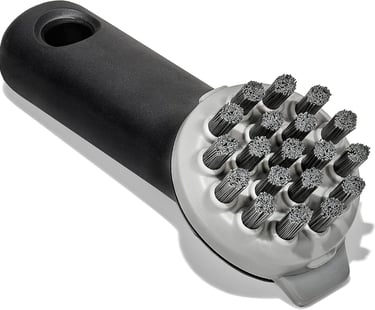
Steel wool or a wire brush
Dish soap (only this once!)
Clean towel or paper towels
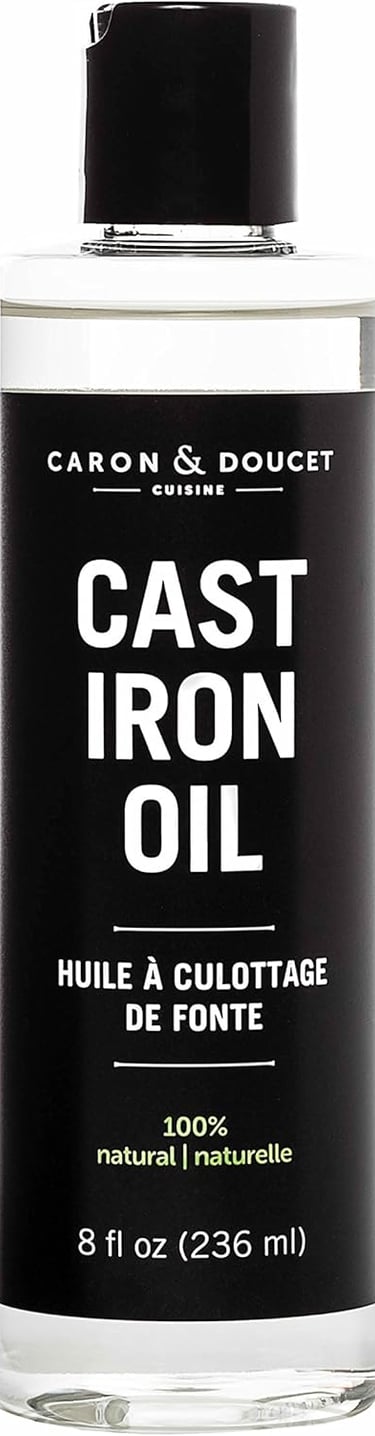
Cooking oil (flaxseed, grapeseed, or vegetable oil work well)
Oven or outdoor fire
Step-by-Step: How to Reseason a Rusty Cast Iron Potjie
1. Scrub Off the Rust
This is the only time you'll hear this: use soap on cast iron.
Scrub the potjie with steel wool, soap, and hot water to remove all rust and old seasoning. Keep going until the surface feels smooth and the rust is gone. Don’t be afraid to really go for it—this is the reset button.
Tip: For heavy rust, use a wire brush drill attachment or soak the potjie in a 50/50 vinegar and water solution for 1–2 hours before scrubbing.
2. Rinse and Dry Thoroughly
Once clean, rinse with hot water and dry immediately. Cast iron can start rusting again within minutes if left wet. Use a towel and place it on the stovetop or over a low flame to make sure every bit of moisture is gone.
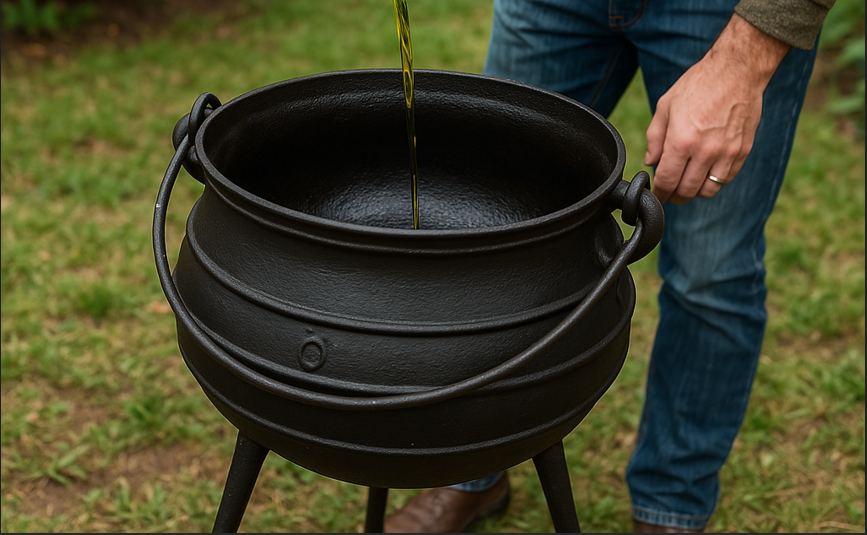
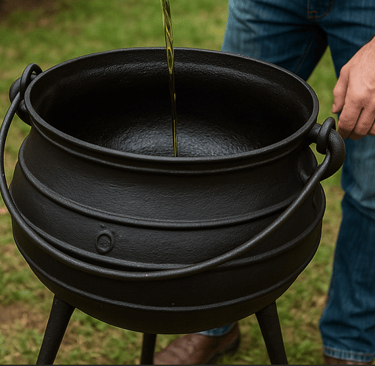
3. Apply a Thin Layer of Oil
Rub a thin, even coat of oil inside and out—including the lid and legs. Use a lint-free cloth or paper towel to wipe off any excess oil. It should look almost dry, not greasy.
Too much oil = sticky spots and uneven seasoning.
4. Bake to Bond the Seasoning
Preheat your oven to 450°F (230°C).
Place the potjie upside down on the oven rack (put foil or a tray underneath to catch drips) and bake for 1 hour. Let it cool inside the oven with the door closed.
Repeat this process 2–3 times for a strong seasoning layer.
No oven? No problem. You can do this over a wood fire or coals, just keep the heat even and steady. Avoid direct flames.
Aftercare Tips to Keep Your Potjie Happy
Never soak it in water.
Always dry it thoroughly after washing.
Rub a tiny bit of oil on it after every use.
Store with the lid off to prevent moisture buildup.
Bonus: What Not to Do
Don’t use olive oil for seasoning—it burns at a lower temperature and turns sticky.
Don’t skip the drying step—even a few drops of water can undo your hard work.
Don’t use metal utensils on a newly seasoned potjie—let the seasoning harden over a few uses first.
Your Potjie, Your Heirloom
Cast iron potjies are made to last generations—but only if we treat them right. A rusty potjie isn’t ruined. With some care and a good reseasoning, it can be restored to its former glory—and then some.
So go on, bring that pot back to life and let the slow cooking (and stories) continue.
This post may contain affiliate links and I may receive a commission for purchases made through links.